How I Made A Dollhouse Ceiling Fan
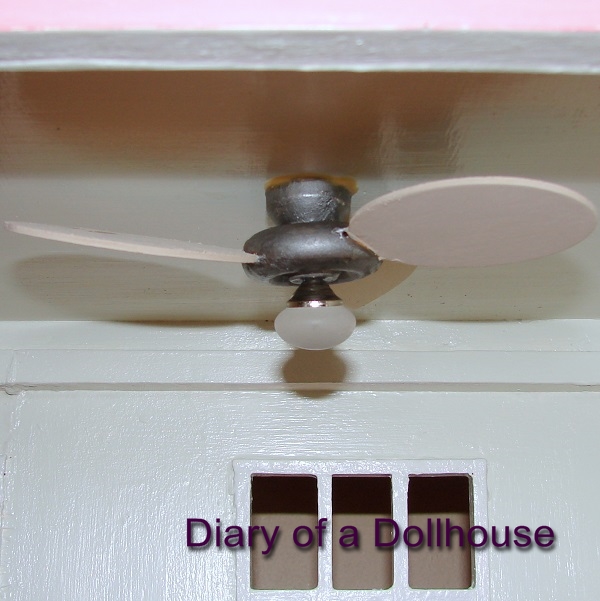
My first experiment with making dollhouse appliances (ceiling fans). It's not electric or battery operated of course, but it manually spins and looks cute. I bought a few things at the craft store and this is the result. Here's how I did it.
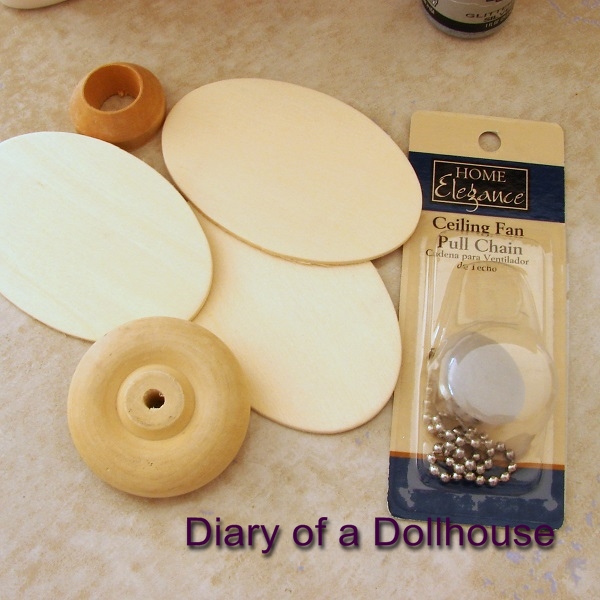
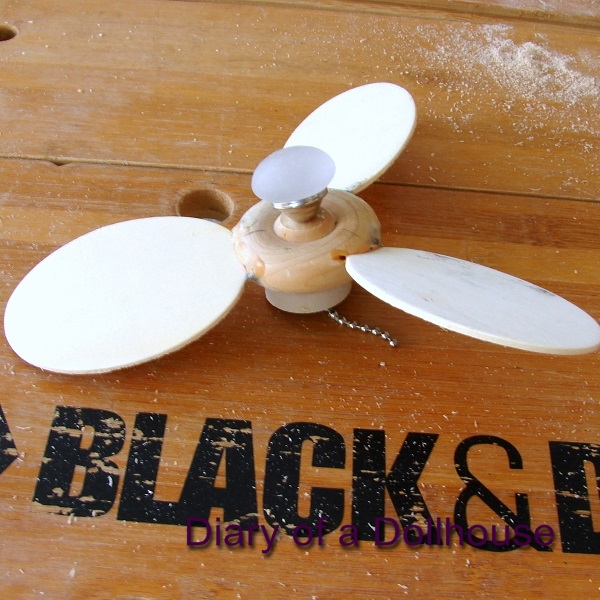
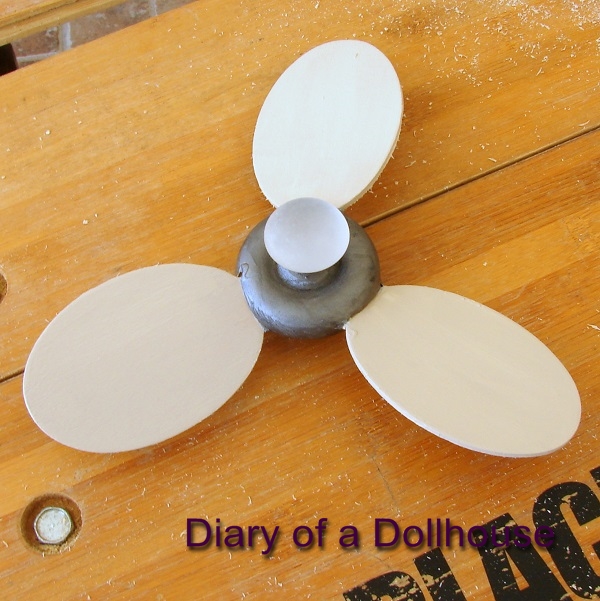
First the supplies. The round button like wooden piece is called a toy wheel. The flat oval pieces and the round semi bead with a big hole are just various wooden shapes from the wood crafting aisle at Michaels. The ceiling fan pull will be the light.
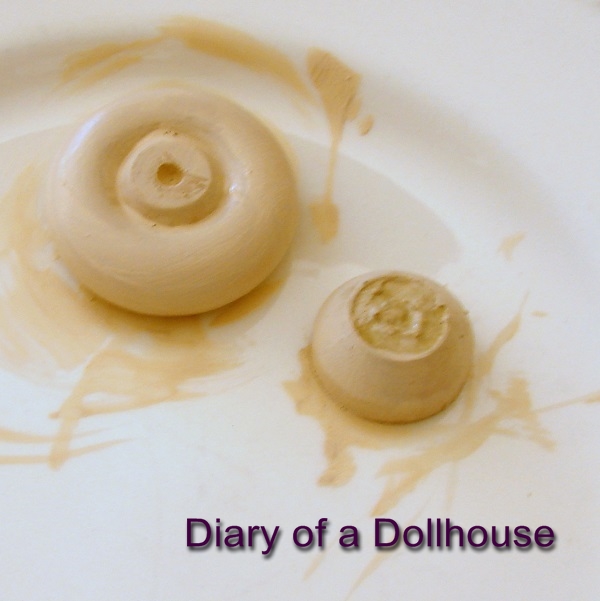
The first thing I did was fill the piece that will be the base of the fan with wood filler. I will make a much smaller hole and eventually thread the ceiling fan chain through it. I painted both round pieces too but it turned out to be unnecessary at this point.
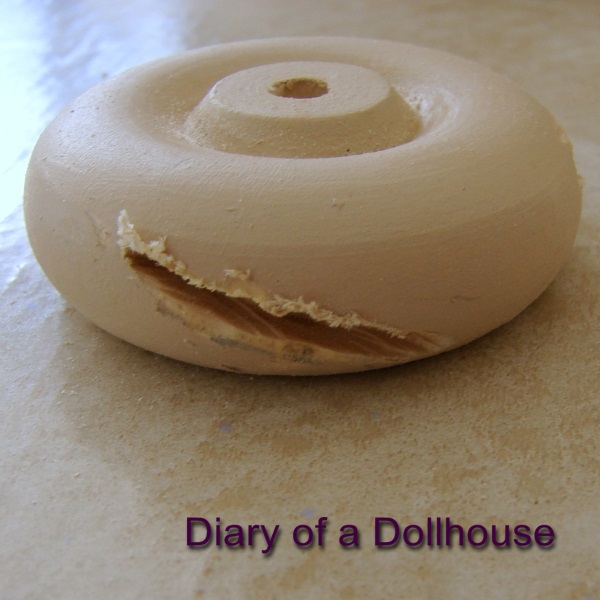
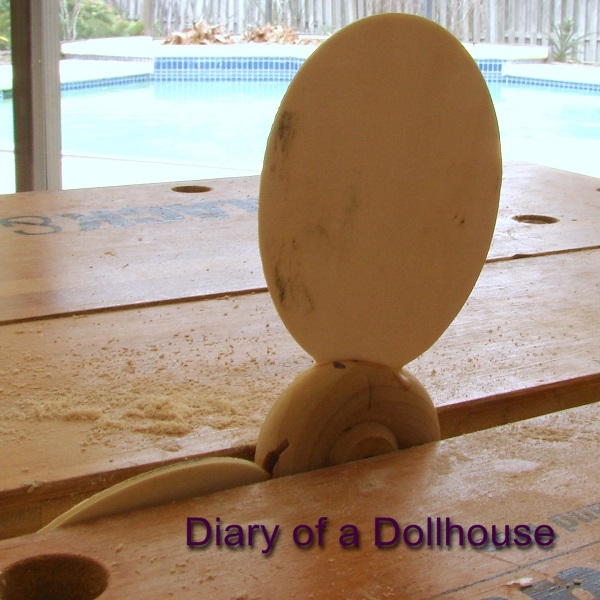
Then I used my Dremel tool to cut 3 slanted slots evenly around the sides of the wheel bead.
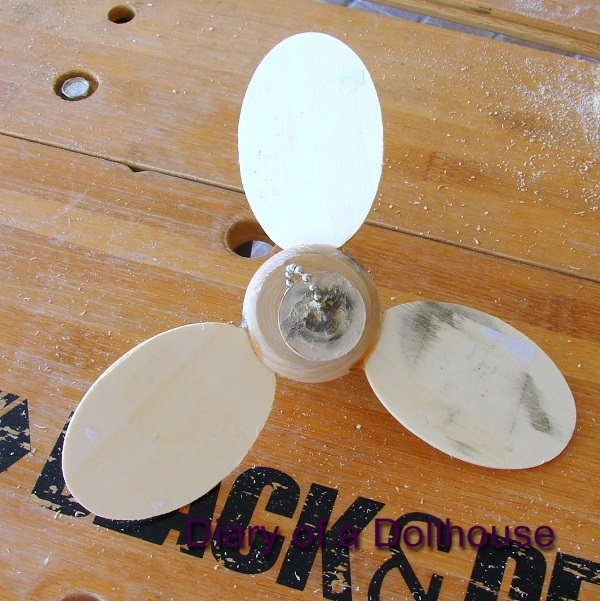
One by one I glued in the fan blades into the slots. After they were dry I filled in the excess holes with more wood filler.
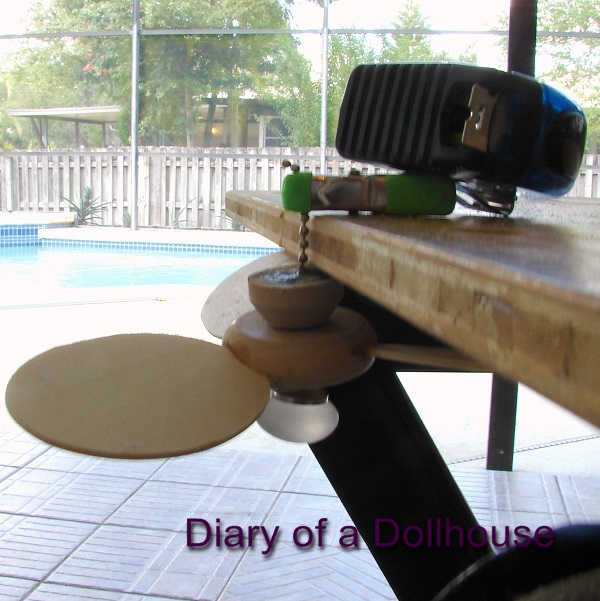
Then I threaded the pieces together and glued the chain within the base, making sure not to let the glue run down to the intersection of 2 round pieces. I wanted the the blades to spin so they needed to be separate from one another.
Here's the fan before painting.
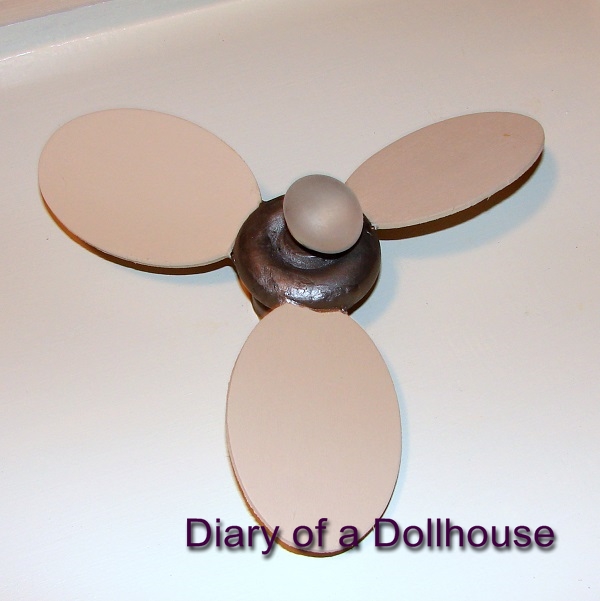
And after painting. The base and part that holds the blades is painted pewter silver. The blades are painted linen color. It's just basic craft acrylic paint.
I had to turn the dollhouse upside down to glue the fan base to the ceiling.
And once it was dry, the finished fan. Now I need to make another one for the other end of the room. It wasn't too hard and turned out pretty good.
Related Posts
Category: Beach Cottage Dollhouse

